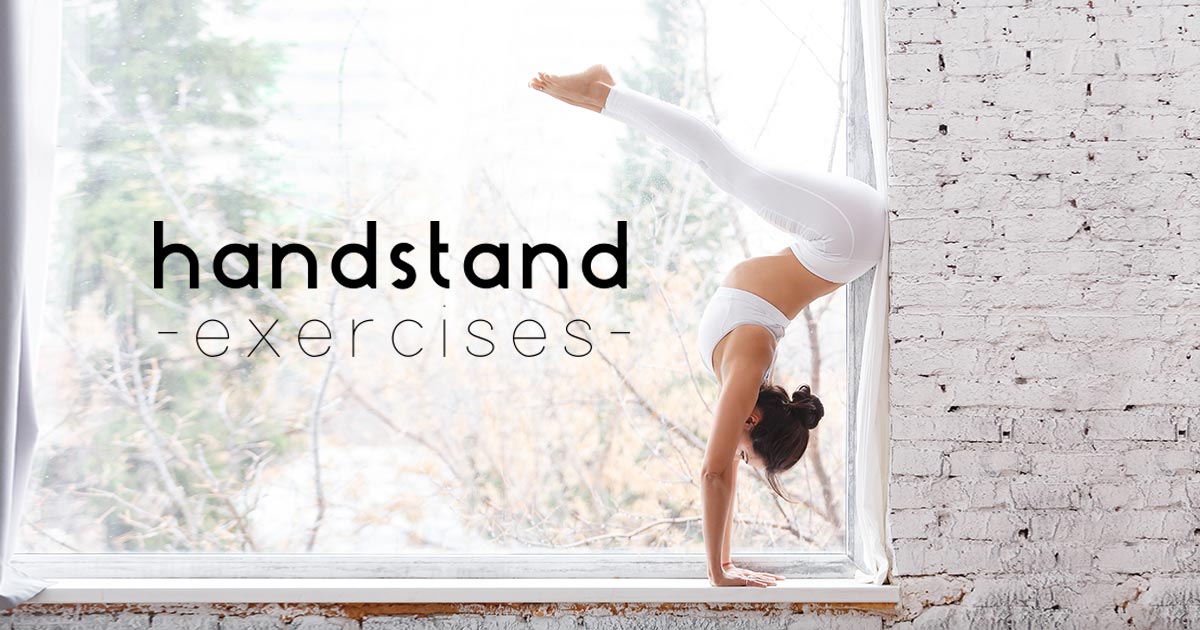
The free handstand is one of the most sought after asanas in yoga.
This advanced inversion is impressive to look at and feels awesome to finally pull off. Aside from the appeal, handstands are possibly one of the best exercises anyone can do. Handstand (Adho Mukha Vrksasana) builds a great amount of core and upper body strength while giving you a mental challenge. You’re probably thinking, that’s great and all, but I can barely lift my bum off the ground let alone my whole body!
Yes, handstands are hard. Working up to them is hard, but if you’re doing yoga and trying to get physically fit, you’ve already done half of the work. Now, you should focus on developing the following poses and exercises to make your handstand goals attainable:

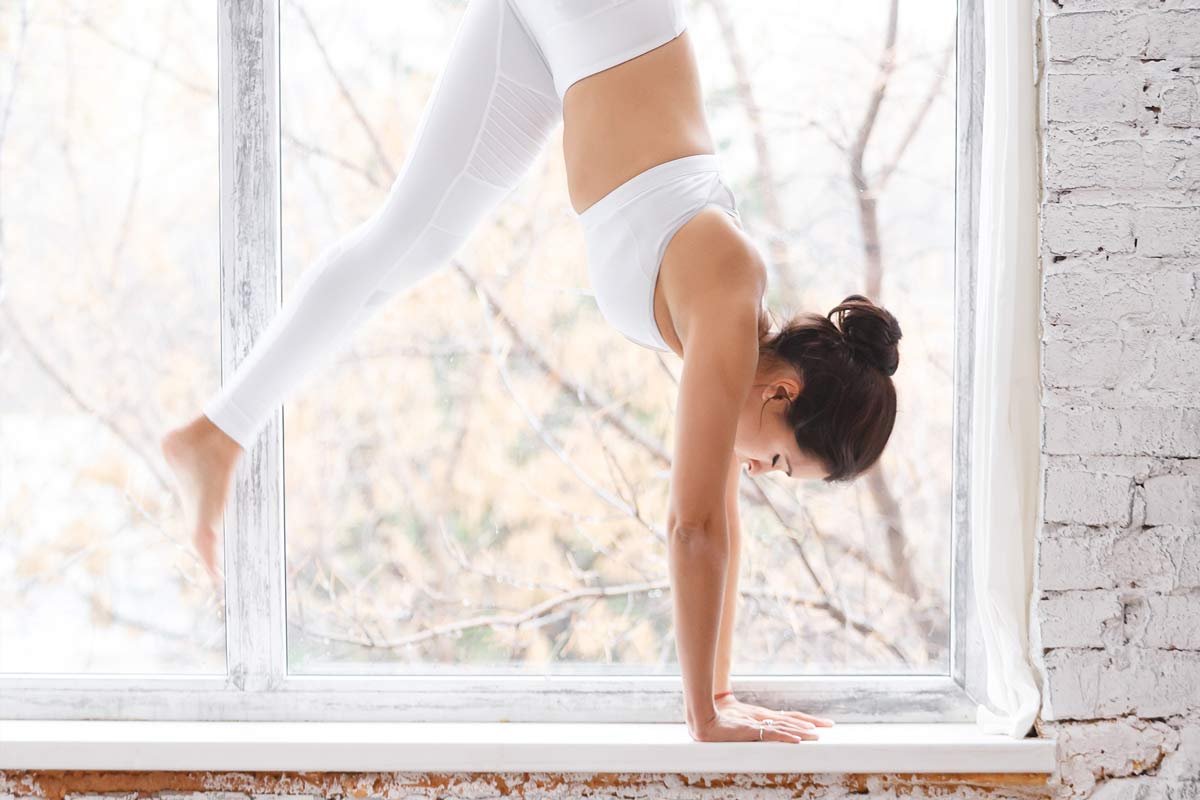
1. Pikes with a Swiss Ball
You can do this without a Swiss/ Gym Ball, but do try to progress to the ball once you feel confident with the piking motion of the hips. This exercise helps you build the foundational shoulder strength for handstands as well as learning where to position your upper body and hips. To do the exercise, start in plank position. Then, either dragging your toes along the ground or shins over the Swiss ball, move your hips up over the shoulders. This requires core control and energy in the legs.
Perform this exercise 12-15 times.
2. Handstand Shoulder Touches
You are going to need to be able to get into supported handstand against the wall for this one, so consider it one of the more challenging exercises of the list. Once you are in handstand position, you need to be able to shift your balance and weight into one supporting arm so that you can pick up the opposite hand, tap the elbow of the ground one, then gently touch the fingers back down to the floor. It will be challenging to even do a couple, but don’t get discouraged.
3. Wall Tucks
Make sure you are wearing a pair of socks for this. You also need a wall and should be able to walk yourself up to a handstand position with your chest facing the wall. Leave enough room between yourself and the wall so that you can tuck your knees into your chest.
How it works: you need to move deliberately, sliding the backs of your feet up and down the wall. The movement is initiated from the core. Your arms squeeze towards one another, and the spine remains long and stabilized. Focus more on alignment than the number of repetitions you can pull off.
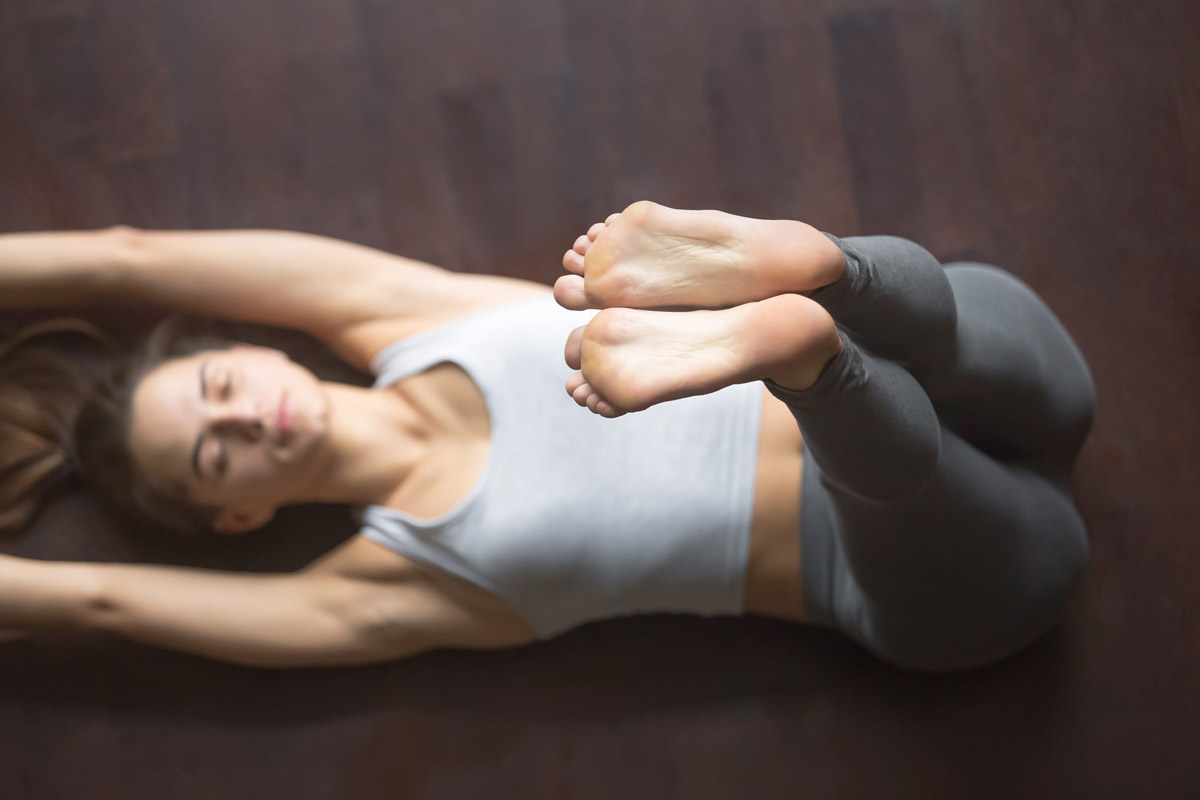
4. Supine Tuck
Think of reverse curls but more intense. Lay with your back against the floor, arms reaching up overhead to be able to touch something supportive behind you—preferably a wall.Find a neutral spine then draw the navel in as the knees move towards the chest. Maintain your grip on the wall as you begin to curl the sacrum away from the floor. All movements are initiated from the deep abdominal curve. Hold for 15-30 seconds before rolling back down through the spine, making sure the tailbone is the last thing to touch the floor.
5. Downward Dog Knee Pull
This movement teaches you how to maintain a long spine and grounded arms while the legs are moving in and away from the body. You need to hold the core steady as your knee pulls through between the arms then extends again. Do the knee pull at least 10 times on each side, focusing on using the breath to help lift the leg as well as the position of the pelvis.
Doing handstands takes a lot of concentration. Even getting to the point where you feel comfortable going up into a handstand takes a lot of strength. With these specific postures and exercises though, you will learn what it takes to get into the correct positioning. You’ll be pulling off handstands in no time.

Leave A Comment