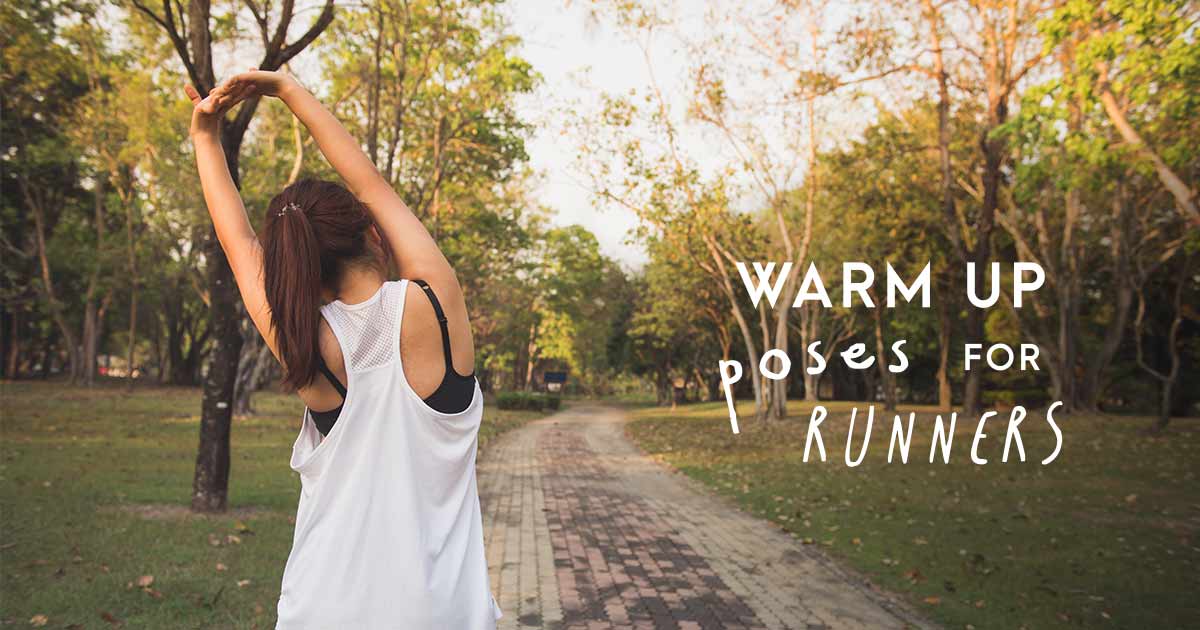
In this article we will focus on some of the common areas of tightness for runners. We’ll also revisit some of the postures we covered in the first post, to get you confident with these foundational poses. Over time you can also see if they start to become easier and what progress you are making through consistent practice.
First, let’s look at a different breathing practice which helps to calm the nervous system, slowing the heart rate and allowing the muscles to fully relax…
Learning to exhale:
The beginning of class starts with a breathing practice – 2 to 1 breathing. This helps us to learn how to calm the body and mind. Have you noticed if you’re stressed or under pressure your breathing becomes shallow? And your inhalation becomes longer than your exhalation.
There are two sides to the autonomic nervous system which regulate the heart, lungs, circulatory system and glands. Put simply, they work in opposition to each other. The sympathetic system helps the body gear up (accelerates the heart rate, raises blood pressure and increases tension in the large muscles).
The parasympathetic nervous system does the opposite (decreases heart rate, lowers blood pressure and releases muscle tension). Inhalation stimulates the sympathetic system and exhalation the para-sympathetic.
When you know this, then the answer to reversing tension isn’t rocket science! Lengthen the exhale – eventually, you want to make it twice as long as the inhalation. Keep this going for a few breaths and you will start to notice the difference.
It’s easy to do. You can sit or even lie down. Just make sure your back is straight to avoid compressing the chest and torso. Notice the breath as it passes through your nostrils. Notice the cool air coming in and the warm air going out. On the inhale, fill up the belly with a smooth breath, don’t force it. Start with breathing in and out for the count of four. After a few breaths start to lengthen the exhale.
Try breathing in for four and out for six counts for a few breaths and then, if comfortable, try in for four and out for eight. (If you find you’re gasping just try a shorter 2 to 1 ratio; in for three out for six.) You don’t need to sit for hours doing this. Even a two minute cycle should do the trick!
Quick post-run stretches worth trying:
1. Hamstrings
Feet hip distance apart, fold from the hips. Trying not to round the back, suck in the lower abdomen. You can gently sway side to side by bending one knee then the other. Try crossing one foot across the other and folding over. This will help target a tight IT band.
2. Hip flexors
Come into lunge position and drop the back knee to the floor. Hands resting on the front knee and keeping the chest lifted, drop the mid-line down (focus on pushing the back thigh forward and down towards the floor).
3. Quad stretch
From standing hold one foot behind you pulling it to the bottom. Focus on the breath as you hold this stretch.
4. Shoulder tension release
Bring the arms out in front at shoulder height. Wrap one arm over the other. You may be able to get the palms to touch. Lift the elbows to chin height. Whichever arm is on top, pull the arms away from that side to feel the stretch across your shoulder blade.
I can’t touch my toes!
You’re not the only one. It’s very common for students new to yoga. This is especially true for people using yoga as a cross-training exercise to complement other sports like running.
It can be annoying and sometimes spoil your enjoyment of the class because you may feel you should be able to do it. How do you get over it? Well, try to be patient. Frankly, who cares if you can or can’t? Yes, it can be satisfying once you can do it but there’s no prize. Also, try to use the breath. You’re more likely to makeprogress when you’re relaxed rather than forcing it.
Learn more helpful tips with this a great blog post, ‘I am so inflexible for yoga. I can’t touch my toes!’.


Leave A Comment