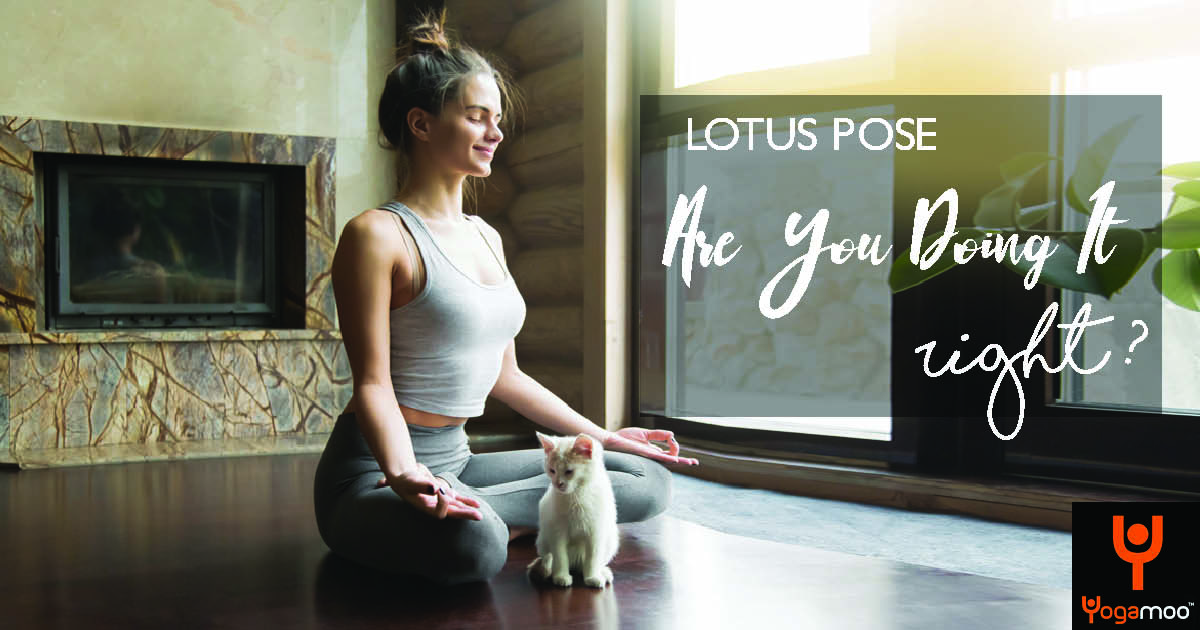
A posture always pleasing to the eye. When executed well, lotus pose is a sight to behold. Called the lotus pose because the body resembles a lotus flower when it sits this way.
When lotus pose is achieved with ease, the practitioner exudes calmness and serenity.
It is therefore no surprise that this posture is named after a ‘thousand petaled’ flower which represents purification and awakening in Buddhism.
It is a fundamental posture to all schools of yoga, although it is rarely practiced as part of a sequence by beginner students here in the West as, such a high degree of flexibility is required throughout the leg, particularly in the hip joints.
Since we are so used to sitting (or slouching!) on a piece of furniture rather than sitting on the floor, we lose the openness in the hips over time.
Although lotus pose appears to be a very simple, low effort pose; make no mistake, lotus is actually an advanced pose. To avoid injury, the yogi practitioner should listen to their body with care when practicing lotus.
Start by sitting comfortably on the floor with legs straight out but relaxed. It is important to keep the spine , neck and head neutral but aligned. In fact, when a good lotus pose is being practiced properly, posture is actually corrected and this is partly why it is such a useful meditation pose as it allows the practitioner to sit steady and unmoving for a considerably period of time.
Bend the right knee (be sure to alter this to the left now and then) and gently use the hand to place the right foot on top of the left thigh. The sole of the right foot should be exposed upwards and the aim is to place the foot high up into the hip crease and the heel near the navel.
There needs to be sufficient external rotation of the hip joints to place the foot above the thigh without pain or discomfort in the knee. For this, good joint flexibility is required.
Then , bend the left leg at the knee and place the left foot on top of the right thigh. The body should appear symmetrical.
That’s. it!
But for completeness, touch the thumbs of each hand to the index finger to form a circle. The other fingers remain straight.
Rest the left hand on top of the left knee and the right hand on top of the right knee.
This is called the jnana mudra (knowledge hand gesture) which is said to signify the divine knowledge and wisdom which connects the individual soul to the universal soul (brahman).
Keep the shoulders and neck relaxed, calm the mind. Close the eyes. Breathe. Nothing to do but relax.
Who is it for?
Everyone really. Even beginners should practice yoga with a view to acquiring the type of hip flexibility which will eventually allow them to comfortably enter lotus pose.
Benefits
Great for strengthening the knees and hip joints and of course to assist one’s meditation practice.
One’s overall posture is also greatly enhanced through regular practice of lotus.
Difficulty
A safe comfortable lotus, one which can be held, is ordinarily only achievable by yogis with an consistent, advanced practice.
Focus Area
Although the pose looks basic, virtually all of the body is involved in entering and remaining in this pose. With the key structure of the pose relying on the hip joints, pelvis, knees, ankles, feet spine and skull; the main joint action coming from the hips, knees and ankles.
Variations
Lotus can be practiced in headstand, handstand, shoulder stand, fish, crow, half spinal twist…. the list goes on!
Reasons to avoid it
Knee injury is probably the most common reason. If lotus is not practiced correctly, the body will overcompensate to retain the pose in other ways. Normally through the psoas muscles, pulling on the hamstrings, which in turn affects the knees.
This action could exacerbate any underlying injury to already weak or unhealthy knees.
Beginners tips
For most of us, if the hips are lower that the knees, the pelvis will tip backwards causing the spine to curve. This is not desirable and to easily correct and elevate the hips a cushion or folded blanket can be used to sit on. This will then make the spine straight and the overall structure of the body neutral – giving optimum breath capacity.
In order to achieve lotus it is advisable to practice your hip openers. Particularly seated, wide-angle pose, pigeon pose and fire log pose. Half lotus can also be practiced.
Poses after before
The pose doesn’t have to be practiced as part of a sequence as it is perfect on its own for meditation or pranayama practice; the body is perfectly aligned for prana to flow freely.
Teaching tips
Teachers should be aware of their students’ different levels in a mixed ability class in order to ensure those without the requisite flexibility do not feel pressured or rushed into this posture.
History of the pose
If we consider yoga to be over 3000 years old, the lotus pose would be the original posture practiced by ancient yogis, sages and saddhus.
The Buddha is usually depicted sitting in lotus pose and we often see Hindu deities such as Lord Vishnu and Shiva seated this way.
In the Yoga Sutras of Patanjali, he describes yoga to be, sitting in a steady pose for a considerably time with an unwavering mind.
Lotus pose is considered to be the archetypal yoga posture; for meditation, mantra chanting and pranayama.


Leave A Comment